/ GessicaP / to know photography
How to organize your travel photos
I always tell people going on a trip to take lots of photos, simply because photos are the most tangible memories.
But in the digital age we live in, the ease with which we take pictures every day makes cataloguing and organising them even more important.
So here are some steps to take to give our holiday photos the space and importance they deserve.
0. Delete
Delete the worst photos right away. The sooner you delete bad photos, the more time you save and the more efficiently you organise your photos. Delete blurry, poorly composed or just plain ugly photos while they are still on your camera or smartphone.
1. Transfer
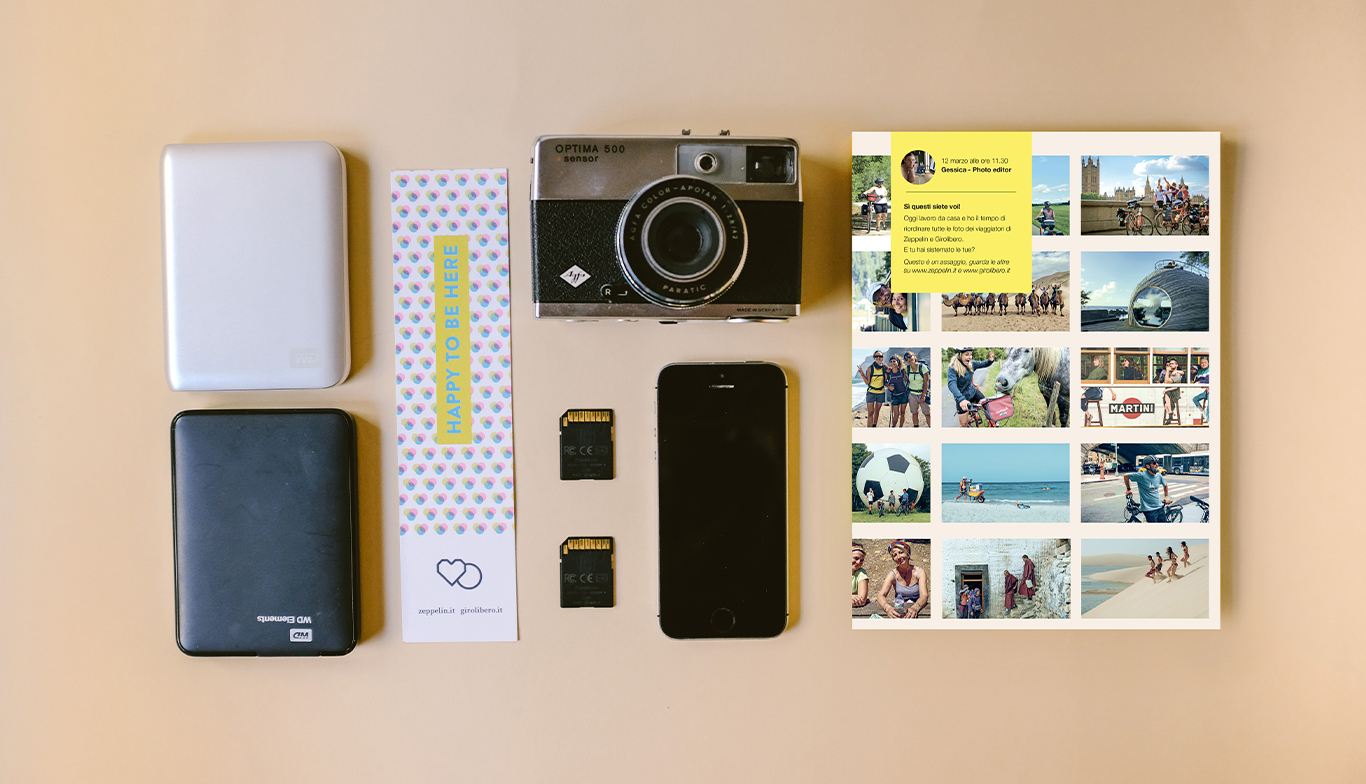
It is time to take them out of your camera and smartphone and put them in a safe place. We need to transfer to our computer or to the cloud all the pictures we have taken from different devices: mobile phone, camera, action camera…
If you have an iPhone, Airdrop makes it very easy to select and transfer your pictures to your computer. You can also send them to yourself by email or even physically connect your phone to your computer with a USB cable.
For cameras, the quickest way is still to use the cable that comes with the camera or, if your computer has a slot, you can slide out the memory card and insert it. We can then choose to keep them on our computer or move them to an external hard drive, a thumb drive or a cloud storage system such as Google Drive, Dropbox or Amazon Photos.
2. Organize
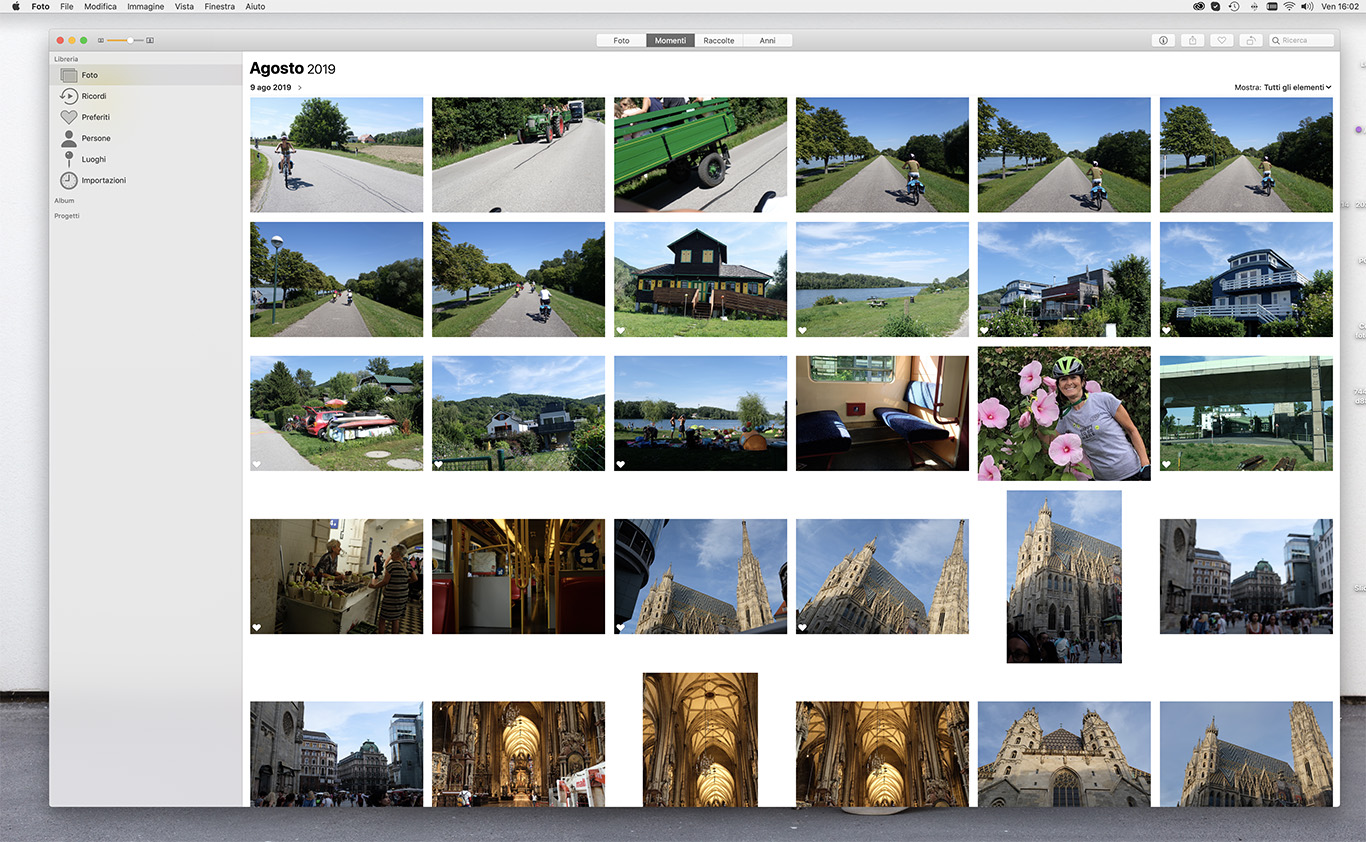
Name your folders with a keyword and a date: always include the name of the event or destination. I prefer to always put the year as the first part of the name, for example “2019 – AUSTRIA BY BIKE”. Why? That way, when you sort the folders by name, they automatically appear in chronological order. Clever, isn’t it? If you like, you can also sort the photos by device after the destination.
(for example: Anna’s mobile phone, Claudio’s camera, Canon, etc.).
3. Select
Another way to make your life easier later is to add a recognition indicator for your best photos: a colour, a dot, a star. On a Mac, you can assign a colour using the right button, or a star using the dedicated button. So when you want to share or review just the best photos, you can skip over all the others and see your favourites straight away.
4. Share
Want to send it to your fellow travellers? You can prepare a Google Drive or Dropbox link.
Want to share it on social media? If you post it and use a tag or location, you can click on it and see all the people who have passed through the same place as you! Even if you post them months apart, you can use the hashtags #memories #summer #tb #throwback and share your memories of that moment.
5. Print
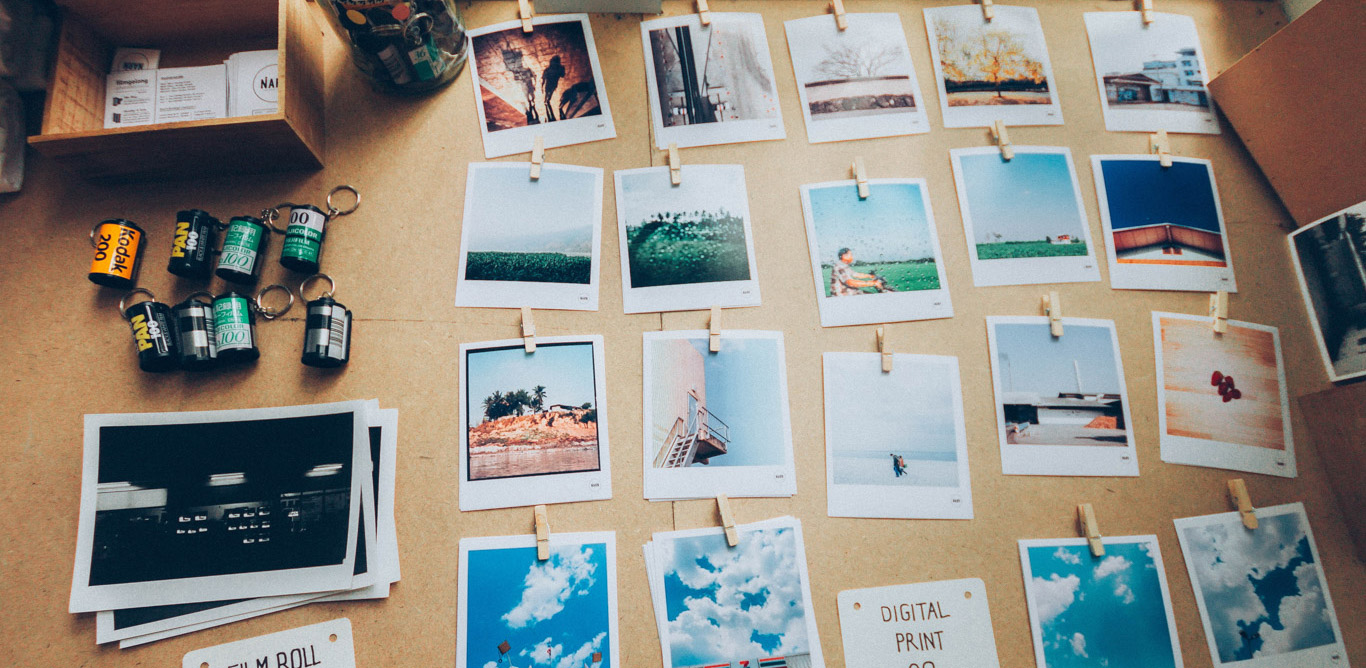
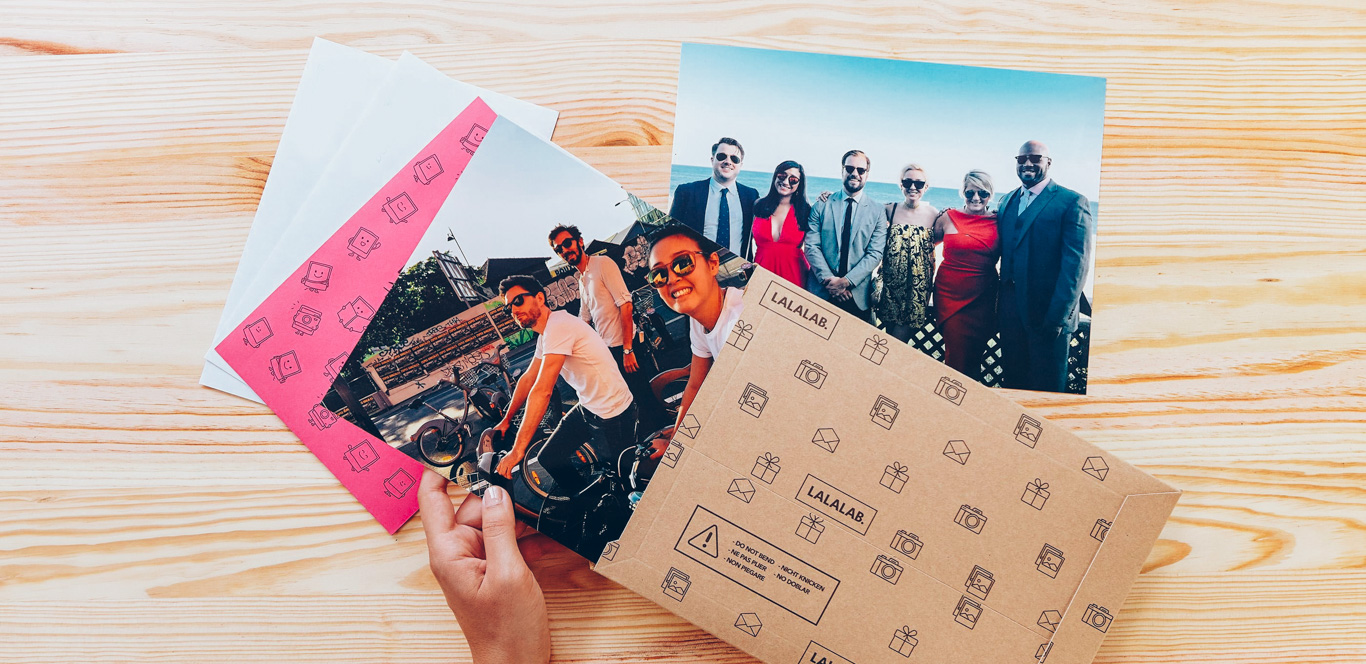
We may have lost the habit, but printing your best photos allows you to have them always with you, use them to decorate your home, show them to friends even offline, and be sure that they will not get lost.
You can print them online, in photo and print shops, or through the various services available in supermarkets.
In the first case, there are several websites that allow you to make these products online and in minutes. This can also be a useful idea for making unforgettable personalised gifts, for example:
- Lalalab for lovers of Polaroid cutting
- Tonki, if you want to turn them into cardboard frames for hanging.
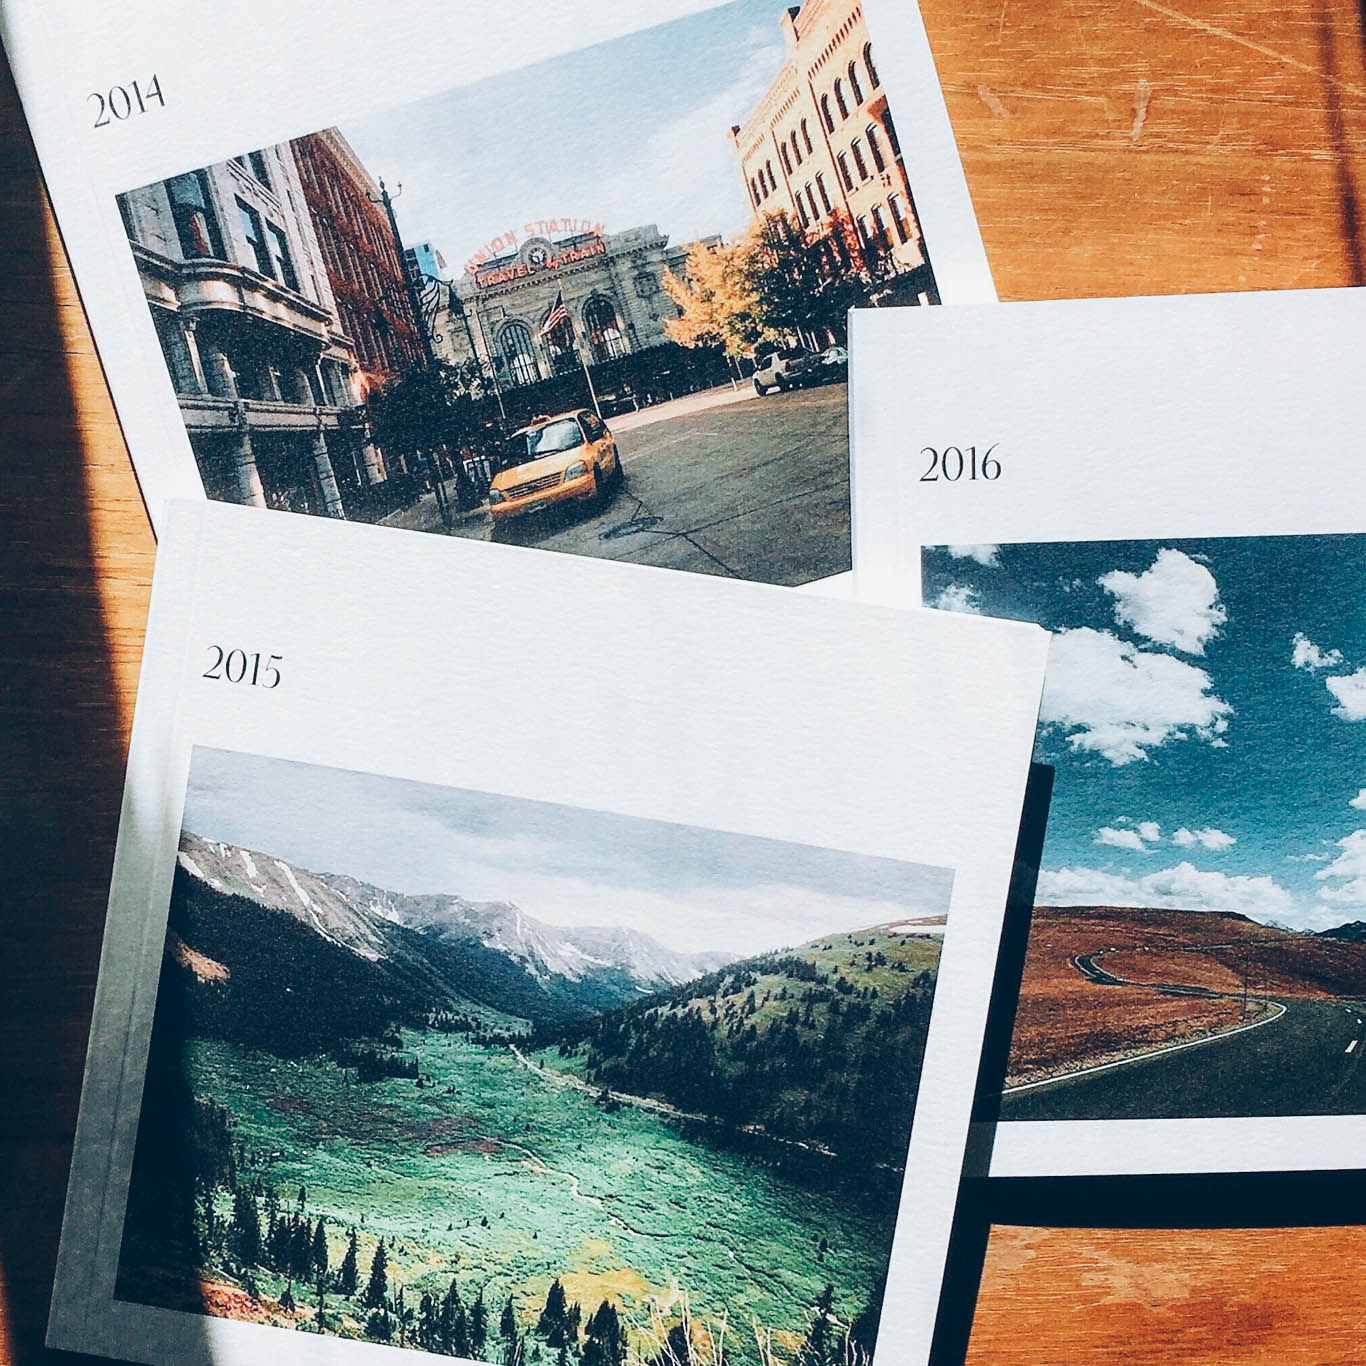
- Blurb, if you want to layout and print a photo album. Imagine the collection of all your travels as if they were a series of books!
So, will you be taking some time over the next few weeks to share your photos? If you find some good ones, you can enter our photo contest.
